If you’re looking for an intro on how to deploy your React app to Vercel, Firebase, Netlify, GitHub Pages, Heroku, etc. this page has got you covered. Comes with easy to follow instructions.
Netlify Forms – Manage forms and submissions without any server-side code
Wow, this is an awesome addition to Netlify:
On Netlify, any HTML form can instantly accept submissions—no backend code or infrastructure required. As soon as your form is deployed, you start seeing submissions appear in your Netlify dashboard.
Just add the
netlify
attribute to any form and everything gets wired up automatically.
Netlify will automatically create some backend code to handle the form submissions. The submissions will be stored and then shown in your control panel. Comes with a free tier of 100 submissions/month.
Video by Phil Hawksworth
Buiding a JAMstack API with Netlify Functions and Zapier Webhooks
In this tutorial, I’ll show you how to set up webhooks by Zapier to send information to a third-party service and how to integrate them into your JAMstack site using Netlify Functions. This combination allows you to quickly and easily create dynamic functionality on your JAMstack site and create services that do things existing APIs may not even support.
The Cloud Function will call the Zapier webhook, and the webhook – a paid feature of Zapier – is set up to perform an insertion of the data into a Google Spreadsheet.
const axios = require('axios');
exports.handler = async (event, context, callback) => {
try {
if(!event.body) {
return {
statusCode: 500,
body: 'Name and email are required.'
};
}
const body = JSON.parse(event.body);
const email = body.email;
const fullName = body.fullName;
if(!email) {
return {
statusCode: 500,
body: 'email parameter required'
};
}
if(!fullName) {
return {
statusCode: 500,
body: 'name parameter required'
};
}
return axios({
method: 'post',
url: 'https://hooks.zapier.com/hooks/catch/2422393/otw0s6l/',
data:{
'email':email,
'fullName':fullName
}
}).then(res => {
console.log(res);
return {
statusCode:200,
body: JSON.stringify(res.data)
}
})
.catch(err => {
return { statusCode: 200, body: JSON.stringify(err.response.data.errors[0]) };
});
} catch (err) {[]
return { statusCode: 500, body: err.toString() };
}
};
JAMstack API with Netlify Functions and Zapier Webhooks, Part 1 →
Project Code (GitHub) →
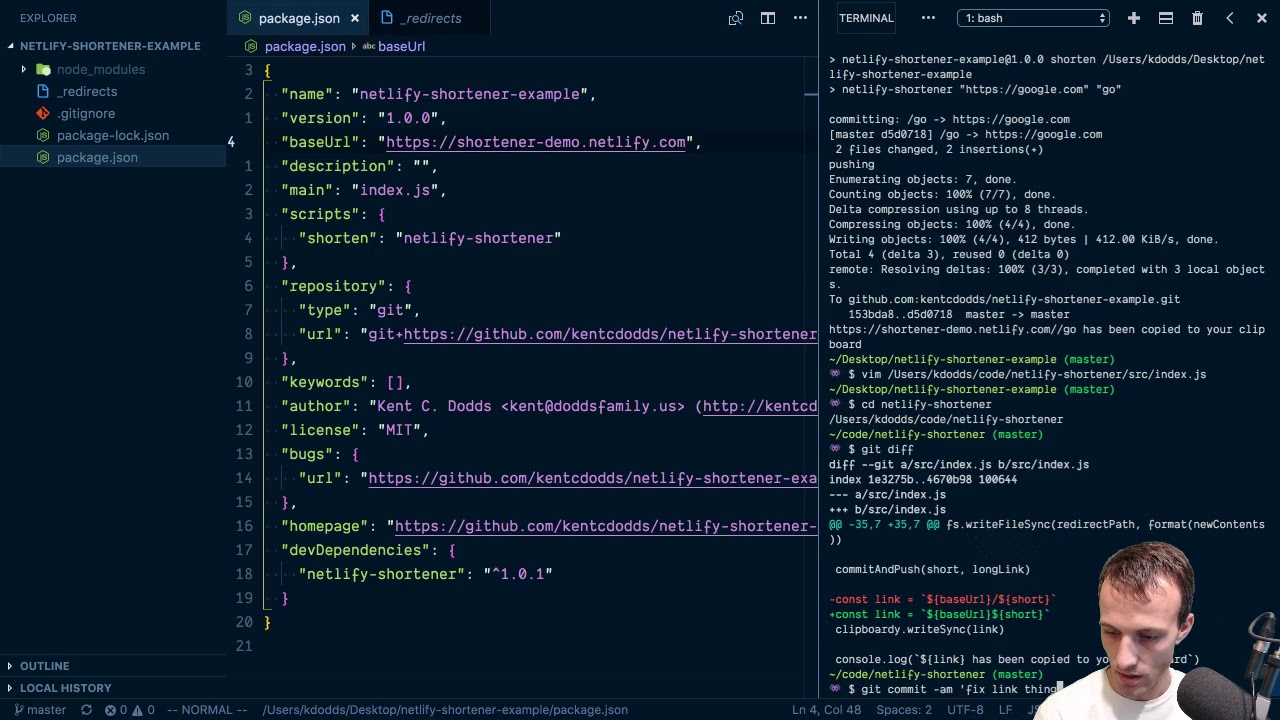
Use Netlify as a URL Shortener
The idea is to have a dedicated repo with only a _redirects
file in there which you constantly update and push (and thus deploy). To help automate that, Kent C. Dodds create a package named netlify-shortener
which does that for you:
- Generates a short code if one is not provided
- Validates your URL is a real URL
- Adds the URL to the top of _redirects
- Runs a git commit and push (this will trigger netlify to deploy your new redirect)
- Copies the short URL to your clipboard
The video embedded at the top of this post shows you how to implement this (feel free to fast forward to the 10 minute mark)
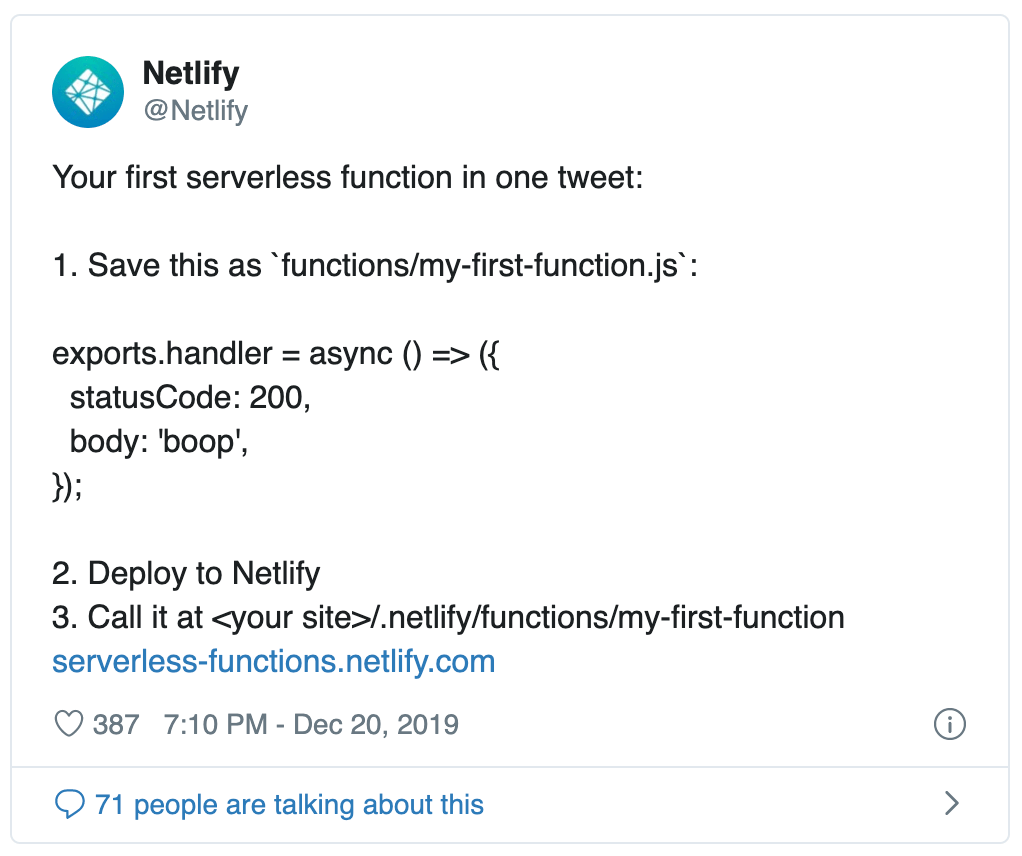
A Netlify Serverless Function in one Tweet
Your first serverless function in one tweet:
1. Save this as `functions/my-first-function.js`:
exports.handler = async () => ({
statusCode: 200,
body: 'boop',
});2. Deploy to Netlify
3. Call it at <your site>/.netlify/functions/my-first-functionhttps://t.co/cRgT9Yxbmy— Netlify (@Netlify) December 20, 2019
This is cgi-bin
all over again, right?
Netlify Menubar
Little macOS menubar app by Stefan Judis to see, monitor and control Netlify builds
Scheduling Deploys with GitHub Actions
Leveraging GitHub Workflows’ Scheduled Events (read: cronjobs that run on GitHub) the folks at De Voorhoede let their static site automatically be rebuilt overnight. They do this because they have some external content, which doesn’t get committed into the repo, included on their site.
Static websites don’t update by themselves. In case of code changes (git push) and content changes (CMS publish event) a user triggers an update. But what if an external system (regularly) updates but can’t be configured to trigger an update? Enter cron jobs.
As their site is deployed onto Netlify, they let GitHub perform a curl request to Netlify’s Deploy Webhook, thus rebuilding and redeploying their site.
Their workflow file .github/workflows/nightly-build.yml
is straightforward:
name: Scheduled build
on:
schedule:
- cron: '30 3 * * *'
jobs:
build:
runs-on: ubuntu-latest
steps:
- name: Trigger our build webhook on Netlify
run: curl -s -X POST "https://api.netlify.com/build_hooks/${TOKEN}"
env:
TOKEN: ${{ secrets.NETLIFY_CRON_BUILD_HOOK }}
The required NETLIFY_CRON_BUILD_HOOK
is stored a GitHub Secret into the repo
Scheduling Netlify deploys with GitHub Actions →
💁♂️ Here’s a writeup I’ve done on deploying a static site onto Netlify, in case you’re looking for info on how to get started with Netlify.
Deploying multi-source sites to Netlify
Deploying one site (from a single source repo) to Netlify ain’t that hard – see my instructions here – but what if your sources are spread out across multiple repos? How do you combine the data without duplicating it into a monorepo?
That’s exactly the problem Spatie was having for their docs.spatie.be: the website holds the documentation for all of their (bigger) open source packages, but the documentation itself is not part of said repo but is stored within each project’s repository.
To solve this they first created an inventory file repositories.json
. The file keeps track of each part of the documentation and its location. Using a script named fetch-content.js
they aggregate all those documentation parts:
const util = require("util");
const exec = util.promisify(require("child_process").exec);
console.log('Fetching repositories...');
console.time('Fetched repositories');
const repositories = require("./repositories.json");
function transformBranchToFolderName(branch) {
return branch.startsWith('v') ? branch.substring(1) : branch;
}
(async function () {
let promises = [];
for (const repository of repositories) {
for (const [branch, alias] of Object.entries(repository.branches)) {
const folder = `content/${repository.name}/${alias}`;
const url = `https://codeload.github.com/${repository.repository}/tar.gz/${branch}`;
promises.push(exec(`mkdir -p ${folder} && curl ${url} \
| tar -xz -C ${folder} --strip=2 ${repository.repository.split('/')[1]}-${transformBranchToFolderName(branch)}/docs \
&& echo "---\ntitle: ${repository.name}\ncategory: ${repository.category}\n---" > content/${repository.name}/_index.md`));
}
}
await Promise.all(promises);
console.timeEnd('Fetched repositories');
})();
To build the site they first launch fetch-content.js
and successively run hugo
.
[build]
command = "node fetch-content.js && hugo -b https://docs.spatie.be"
publish = "public"
By adding webhooks which point to the same endpoint on all of the listed repos, the docs website is built whenever a commit to any of those repos is pushed.
Going serverless with Hugo and Netlify →
docs.spatie.be Source (GitHub) →
How to deploy your first site onto Netlify (+ basic configuration)
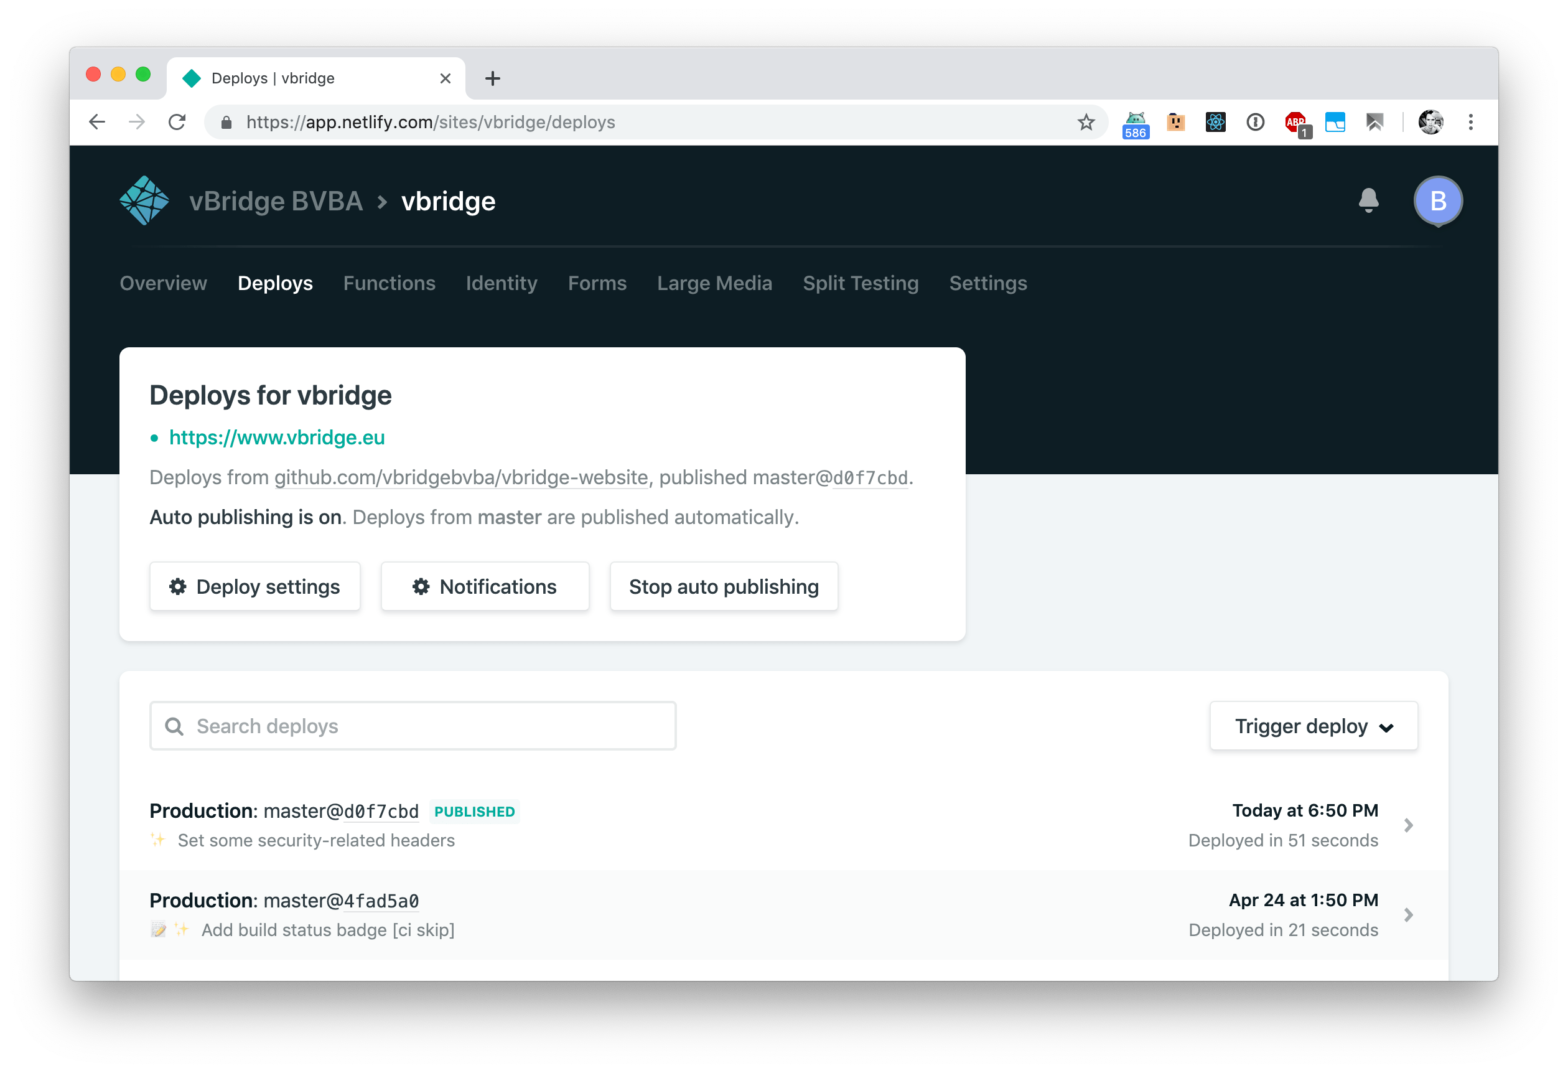
About two months ago I developed the website for vBridge, a new company I’m participating in. As the website consists of only one static placeholder-like page, I decided to look into hosting the page directly onto a CDN. Having heard a lot of good things about Netlify, I decided to check that out.
The site itself is built from its source through Webpack by calling yarn build
. Where I’d normally go for an external build service to build the site for me, and then deploy it from there into a bucket onto Google Cloud Storage or Amazon S3, Netlify allows me to remove this extra service in between as it has built-in support to building the source for me:
And best of all? Netlify is free (for basic sites), and supports Lambda Functions, and is configurable through a file named netlify.toml
.
Configuring Netlify trough netlify.toml
Before adding the site to Netlify itself, I added an instruction file named netlify.toml
in the root of the repo. This file tells Netlify what the build command is, which folder needs to be deployed, which redirects to perform, etc.
Here’s the full contents of my netlify.toml
configuration file:
[build]
publish = "build"
command = "yarn build"
[[redirects]]
from = "https://vbridge.netlify.com/*"
to = "https://www.vbridge.eu/:splat"
status = 301
force = true
[[headers]]
for = "/*"
[headers.values]
X-Frame-Options = "DENY"
X-XSS-Protection = "1; mode=block"
Referrer-Policy = "no-referrer"
X-Content-Type-Options = "nosniff"
Strict-Transport-Security = "max-age=63072000; includeSubDomains; preload"
Let’s break that down into several pieces:
-
[build] publish = "build" command = "yarn build"
This snippet tells Netlify what the build command is (
yarn build
), and which folder that needs to be deployed (build
). -
[[redirects]] from = "https://projectname.netlify.com/*" to = "https://www.domain.tld/:splat" status = 301 force = true
Whenever you deploy a project to Netlify, it will deploy it to a
projectname.netlify.com
subdomain. To prevent people from accessing the site through that subdomain, add this redirect instruction to yournetlify.toml
. The snippet is smart enough to retain the value of thepathname
when redirecting -
Additionally I also added some extra security headers. They are applied to all URLs (
"/*"
)[[headers]] for = "/*" [headers.values] X-Frame-Options = "DENY" X-XSS-Protection = "1; mode=block" Referrer-Policy = "no-referrer" X-Content-Type-Options = "nosniff" Strict-Transport-Security = "max-age=63072000; includeSubDomains; preload"
Further steps
After having added the netlify.toml
into the repo, one still needs to:
- Add the project to Netlify itself (see the video above)
- As your own domain is not pointing to Netlify yet, you might want to skip on that
[[redirect]]
part in yournetlify.toml
for now …
- As your own domain is not pointing to Netlify yet, you might want to skip on that
- Update DNS so that your own domain points to the Netlify servers (ref)
- Add/change
CNAME
record forwww
and point it toprojectname.netlify.com.
- Set
A
record to104.198.14.52
, or if your DNS provider supportsCNAME
Flattening,ANAME
, orALIAS
, alias the root domain toprojectname.netlify.com.
- Add/change
- Once DNS has propagated, Netlify will automatically enable HTTPS for your site: Netlify will automatically redirect non-https and non-www visits to
https://www.domain.tld/
- The
Strict-Transport-Security
header in mynetlify.toml
is a recommended extra on top of this, intended for browsers. By adding this, browsers will immediately request the site over HTTPS, even when the user types inhttp://…
first. See MDN’s page on HSTS for more info.
- The
And oh, if you want to create your own 404 page, just build a file named 404.html
and it will be used as the 404 page 🙂
Thank me with a coffee.
I don't do this for profit but a small one-time donation would surely put a smile on my face. Thanks!
To stay in the loop you can follow @bramus or follow @bramusblog on Twitter.