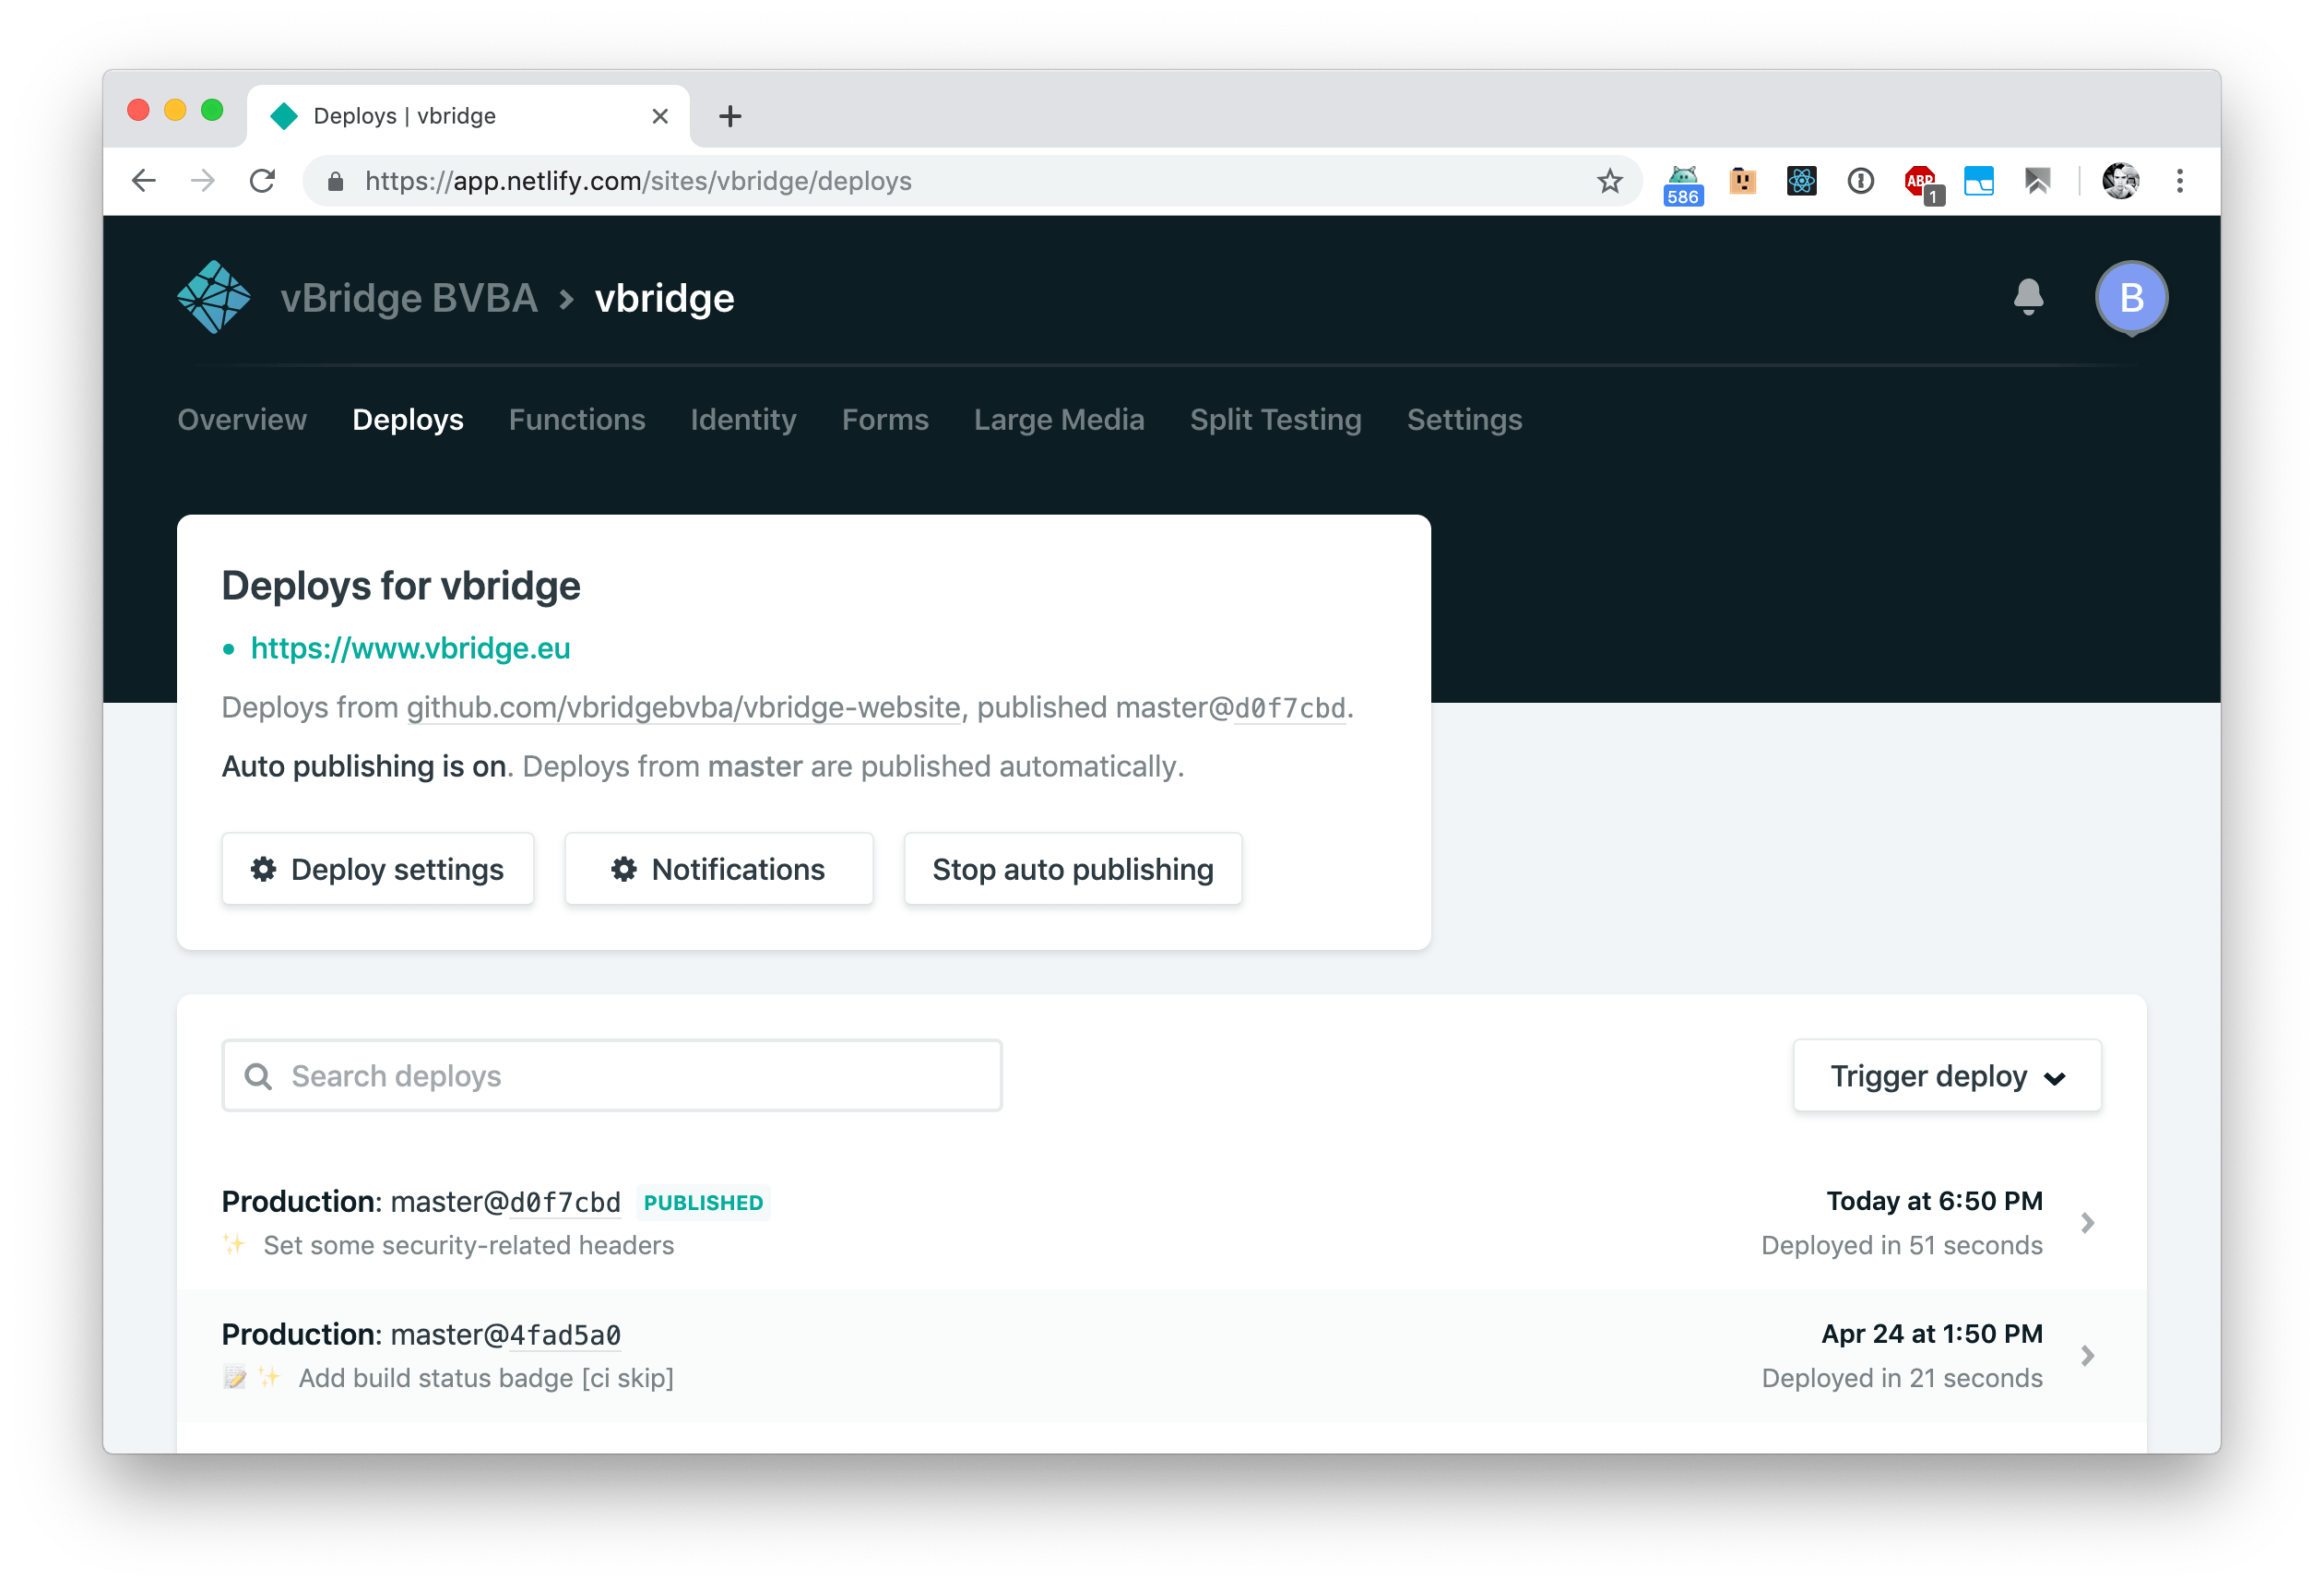
About two months ago I developed the website for vBridge, a new company I’m participating in. As the website consists of only one static placeholder-like page, I decided to look into hosting the page directly onto a CDN. Having heard a lot of good things about Netlify, I decided to check that out.
The site itself is built from its source through Webpack by calling yarn build. Where I’d normally go for an external build service to build the site for me, and then deploy it from there into a bucket onto Google Cloud Storage or Amazon S3, Netlify allows me to remove this extra service in between as it has built-in support to building the source for me:
And best of all? Netlify is free (for basic sites), and supports Lambda Functions, and is configurable through a file named netlify.toml.
Configuring Netlify trough netlify.toml
Before adding the site to Netlify itself, I added an instruction file named netlify.toml in the root of the repo. This file tells Netlify what the build command is, which folder needs to be deployed, which redirects to perform, etc.
Here’s the full contents of my netlify.toml configuration file:
[build]
  publish = "build"
  command = "yarn build"

[[redirects]]
  from = "https://vbridge.netlify.com/*"
  to = "https://www.vbridge.eu/:splat"
  status = 301
  force = true

[[headers]]
  for = "/*"
  [headers.values]
    X-Frame-Options = "DENY"
    X-XSS-Protection = "1; mode=block"
    Referrer-Policy = "no-referrer"
    X-Content-Type-Options = "nosniff"
    Strict-Transport-Security = "max-age=63072000; includeSubDomains; preload"
Let’s break that down into several pieces:
-
[build]
  publish = "build"
  command = "yarn build"
This snippet tells Netlify what the build command is (
yarn build), and which folder that needs to be deployed (build). -
[[redirects]]
  from = "https://projectname.netlify.com/*"
  to = "https://www.domain.tld/:splat"
  status = 301
  force = true
Whenever you deploy a project to Netlify, it will deploy it to a
projectname.netlify.comsubdomain. To prevent people from accessing the site through that subdomain, add this redirect instruction to yournetlify.toml. The snippet is smart enough to retain the value of thepathnamewhen redirecting -
Additionally I also added some extra security headers. They are applied to all URLs (
"/*")[[headers]] for = "/*" [headers.values] X-Frame-Options = "DENY" X-XSS-Protection = "1; mode=block" Referrer-Policy = "no-referrer" X-Content-Type-Options = "nosniff" Strict-Transport-Security = "max-age=63072000; includeSubDomains; preload"
Further steps
After having added the netlify.toml into the repo, one still needs to:
- Add the project to Netlify itself (see the video above)
- As your own domain is not pointing to Netlify yet, you might want to skip on that
[[redirect]]part in yournetlify.tomlfor now …
- As your own domain is not pointing to Netlify yet, you might want to skip on that
- Update DNS so that your own domain points to the Netlify servers (ref)
- Add/change
CNAMErecord forwwwand point it toprojectname.netlify.com. - Set
Arecord to104.198.14.52, or if your DNS provider supportsCNAMEFlattening,ANAME, orALIAS, alias the root domain toprojectname.netlify.com.
- Add/change
- Once DNS has propagated, Netlify will automatically enable HTTPS for your site: Netlify will automatically redirect non-https and non-www visits to
https://www.domain.tld/- The
Strict-Transport-Securityheader in mynetlify.tomlis a recommended extra on top of this, intended for browsers. By adding this, browsers will immediately request the site over HTTPS, even when the user types inhttp://…first. See MDN’s page on HSTS for more info.
- The
And oh, if you want to create your own 404 page, just build a file named 404.html and it will be used as the 404 page 🙂
Thank me with a coffee.
I don’t do this for profit but a small one-time donation would surely put a smile on my face. Thanks!
To stay in the loop you can follow bramus on Bluesky or subscribe to the RSS feed.
Leave a comment