Here in Belgium schools are locked down due to #coronavirus. With the school of my two oldest kids now switching to remote teaching, I took the time to set up my old MacBook Pro (model late 2008) for my two oldest kids to use. That didn’t go without any hiccups though: the OS X installer refused to install …
The MacBook I had shelved a long time ago was still running OS X Mavericks. As that version was quite showing its age – and didn’t seem to support 2FA for use with my Apple ID – I decided to upgrade it to El Capitan, of which I still had the installer app lying around. I opened up the installer, it prepared some things, and nicely asked to reboot. Upon reboot the installer was ready to install, but when actually starting it greeted me with this error message:
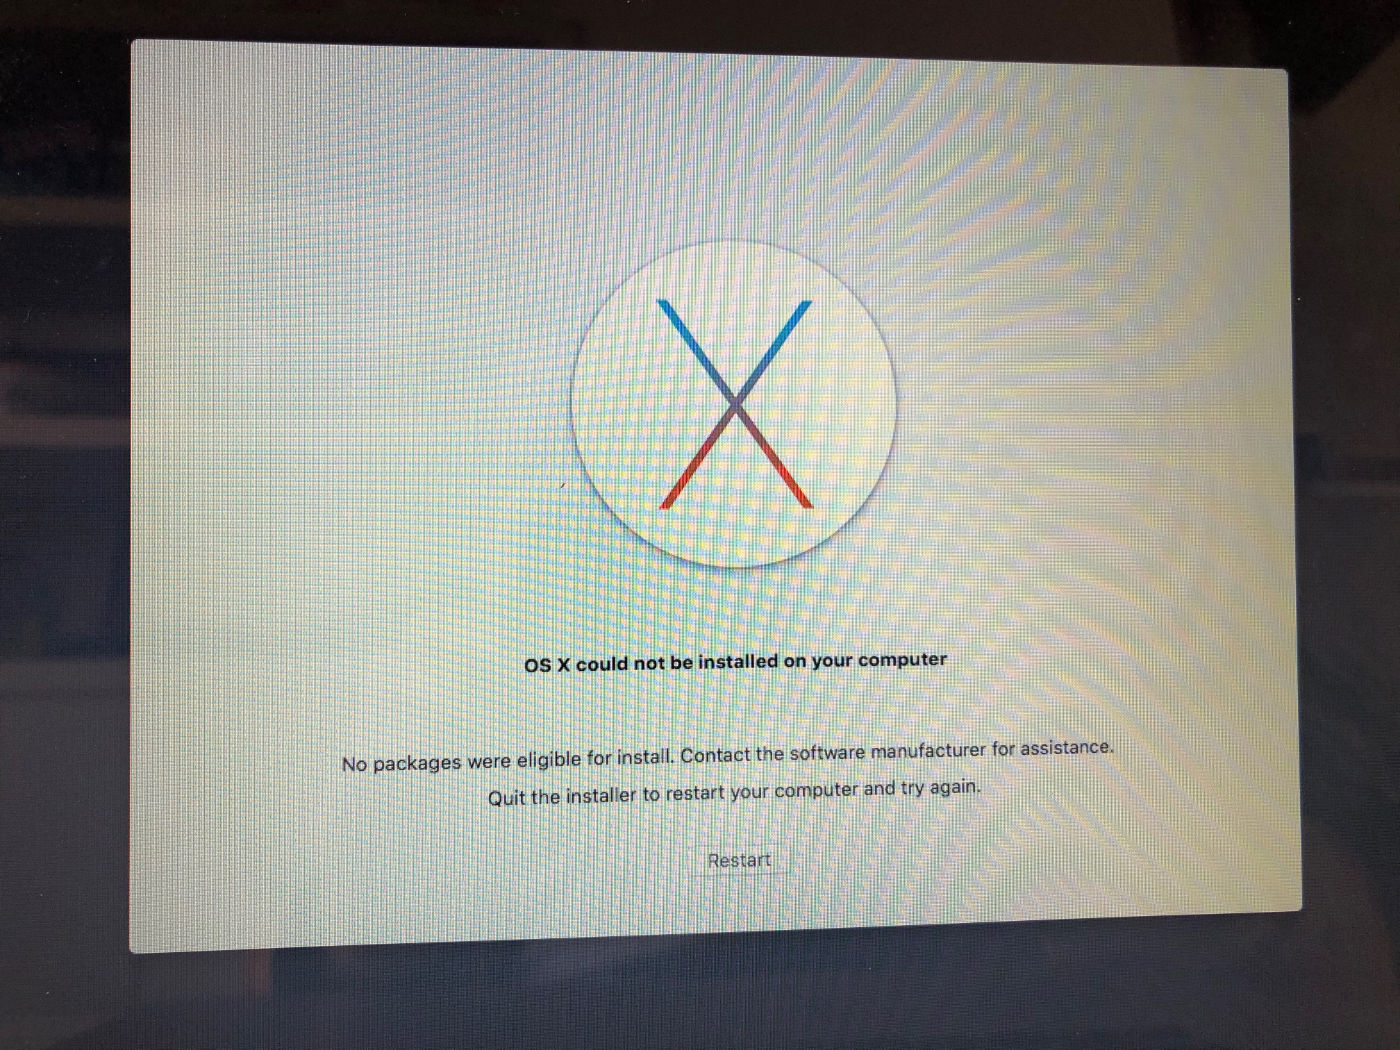
OS X could not be installed on your computer.
No packages were eligible for install. Contact the software manufacturer for assistance. Quit the installer to restart your computer and try again.
Uhoh! Restarting the MacBook, as suggested, did nothing: the installer kept showing that same error message. Trying to change the startup disk to get back into Mavericks (by pressing ⌥+R upon starting the machine) also didn’t help, as I could only launch the installer and a recovery partition. Yes, the machine was actually stuck in a loop where it would only launch the installer and the installer wouldn’t install.
~
With a Google Search Coupon in hand I found that the installer refuses service because the certificate it was signed with (some time back in 2015, when El Capitan was released) got expired by now.
Thankfully one can easily circumvent this expiration by simply changing the date of your system. You can do this before starting the installer, or through a Terminal if the installer is already loaded (as it was in my case).
- In the OS X Installer, choose Utilities > Terminal.
- Enter
date 020101012016and press Enter. - Quit Terminal and reboot to retry the installation.
💡 In this particular Terminal you’re running as root, so no need for sudo here 😉
Here the date is being set to Feb 1st, 2016. You might need to tweak the date a bit depending on when you downloaded the installer originally (as it might be signed with a different certificate). Be sure to set it no earlier than the release date of the OS X version you’re trying to install.
💡 The syntax for the date command is a bit counterintuitive. Choosing your own date will require some puzzling from your end:
date [-jnu] [[[mm]dd]HH]MM[[cc]yy][.ss]

   cc      Century (either 19 or 20) prepended to the abbreviated year.
   yy      Year in abbreviated form (e.g., 89 for 1989, 06 for 2006).
   mm      Numeric month, a number from 1 to 12.
   dd      Day, a number from 1 to 31.
   HH      Hour, a number from 0 to 23.
   MM      Minutes, a number from 0 to 59.
   ss      Seconds, a number from 0 to 61 (59 plus a maximum of two leap seconds).
~
Later versions of OS X, such as High Sierra, have become a bit smarter: they give you the warning upfront – when first launching the Installer.app – instead of after having prepared your disk for installation.
~
Thank me with a coffee.
I don’t do this for profit but a small one-time donation would surely put a smile on my face. Thanks!
To stay in the loop you can follow bramus on Bluesky or subscribe to the RSS feed.
This has helped me, I _think_, along the way to the solution to (yet another) problem (unnecessarily) created by Apple.
I actually don’t know when the particular certificate was signed to verify the copy of El Capitan on my machine. So, I guess I’m doomed to advance forward using the time-reset/re-boot routine month-by-virtual-month until I achieve (or oerhaos receive) success. Wonderful.
(How I just love Security! It manages to catch almost none of the bad actors who really know what they are doing, but brings those of us with no ill intent at all who are simply trying to keep electronic trash and strategic materials out of landfills to our knees.
I must devise some way of warmly and adequately thanking the pencil necks at Apple.)
Thank you for your insight into the part of the solution I need to get out of this loop forced upon me for no good reason.